
1) File Organization
This is probably not the best method, but it's been working well enough to far. I keep my entire project in one folder on my desktop, backing it up multiple times a day as I work on it to another hard drive. Inside this main folder, I have folders for Scenes, Characters, Props, Locations, and Sounds. The Scenes folder ONLY holds the .aep files. The other folders hold both .psd and .aep files as I'll explain. The important this is to NOT MOVE STUFF AROUND. Once it's saved, leave it there, so save things carefully.
1) Setting Up the Puppet in Photoshop
I'm working with a file called Wolf_3_4_Front.psd. which, (ta-da!) is the Wolf character, 3/4 front view. I wont get into Photoshop details here, but the important this is to carefully name all your layers. DuIK is name sensitive, so I tend to start the name with the body part (hand, lower arm, upper arm, etc.), the position (left, right, front, back, etc.), and then just an initial for the character, in case I decide to copy and paste all layers into a main sequence with other characters later on. So as you can see, I have things named "upper arm front w". Also note that things like hands and eyes, where I have multiple drawings for different views are nested inside a folder. I'll get to this layer, but otherwise you want to avoid using groups.

2) Importing the File.
Again, make sure everything is saved and kept in the right place. Open After Effects and File>Import File> and then choose the .psd file as Composition - Cropped Layers.

Double-click the composition icon of the file. Note that the Photoshop groups come in as compositions. We'll get into those shortly.

3) Parenting
Parenting is basically "connecting on part to another. So the hand is connected to the lower arm, lower to the upper, and upper to the chest. Go through and parent all layers first.
4) Move Anchor Point
The Anchor Point is the point at which an object rotates. After Parenting (or before, it doesn't matter), use the Pan-behind tool to move the anchor points. For example. Upper arm's anchor point is at the shoulder, Lower Arm's is at the elbow, Hand's is at the wrist. Below I have an image of the pan behind tool selected in the tool bar, and you can see the head's anchor port is just below the chin (neck-ish area).

5) Test your Rotations.
It's a good idea to test all your rotations. I select a layer, hit "R" for rotation, and then check each layer by rotating the area and then hitting Command-Z to undo (or type in "0" in Rotation) to set it back to the original state. I keep the pan-behind tool selected since I often move around anchor points to fix rotations that look awkward.

6) SAVE!
Probably, we should have done this a while ago, huh? :) Make sure the .aep file is saved in the SAME folder as the .psd file. Again, there's likely better ways, but I feel it's easiest for me to keep characters together, props together, etc. Notice I've saved this as basically the same name as the .psd file: "Wolf_3_4_Front.aep".

7) Time-Remapping: Part 1
I will use time-remapping so that at any point in an animation, I can change the shape of the hand I'm working on. First, I control-click on the hand layer and select "Open Composition." Inside that composition, I select all layers and make them 3 frames long.

8) Time-Remapping: Part 2.
Next, with all layers still selected, I go to Animation>Keyframe Assistant>Sequence Layers with no Overlap. This staggers the layers so that one plays right after the other.

This is how it looks:
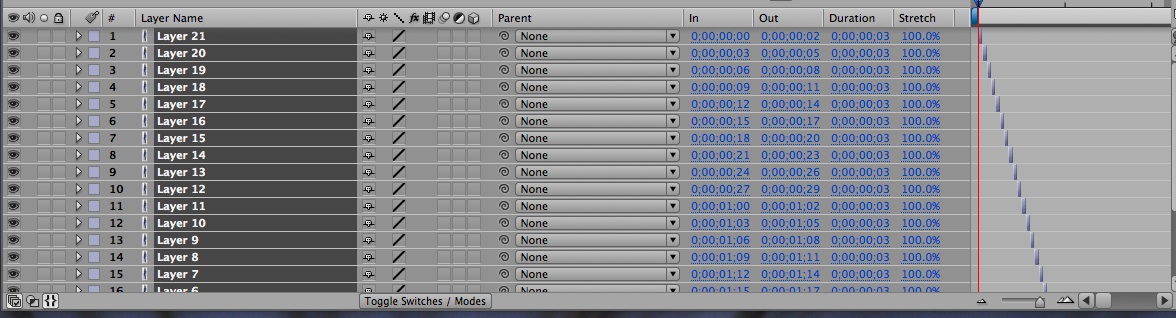
9) Time-Remapping:Part 3
Next, I go back to the original composition, select the hands layer, control click and select Time>Enable Time-Remapping. When you do this, you'll notice a keyframe at the beginning and end. Delete the last keyframe. Now you will only see the hand that is at 0;00;00;00 in the hands composition! Awesome! To change the hands, simply make a keyframe, and then the frame right after it, change the time remap number to the frame at which the hand you desire appears.

10) Time-Remapping: Eyeblink
As another example of how time-remapping can be very helping, here's how I've layed out the eyeblink. The first 2 frames, there are no eyeblinks (the eyes are open), the the eyes are 1/2 closed for 2 frames, closed for 2 frames and then half open for 2 frames.

If I wanted the eyes to blink, I add a keyframe right before the blink (that is, the time-remap reads 0;00;00;00), then 10 frames layer I add a keyframe at set it to 0;00;00;10. So the eyes will still look open. Good! If you move the playhead in between those frames, however, the time remap will read 0;00;00;05 which, of course, are the closed eyes! Remember, you can slide keyframes closer or farther, so if you want a blink to be slower, just drag that last keyframe farther away. So instead of lasting 2 frames, the closed-eye part could last 3, 6, 12 frames, whatever you'd like!

Next Part: DuIK!
No comments:
Post a Comment